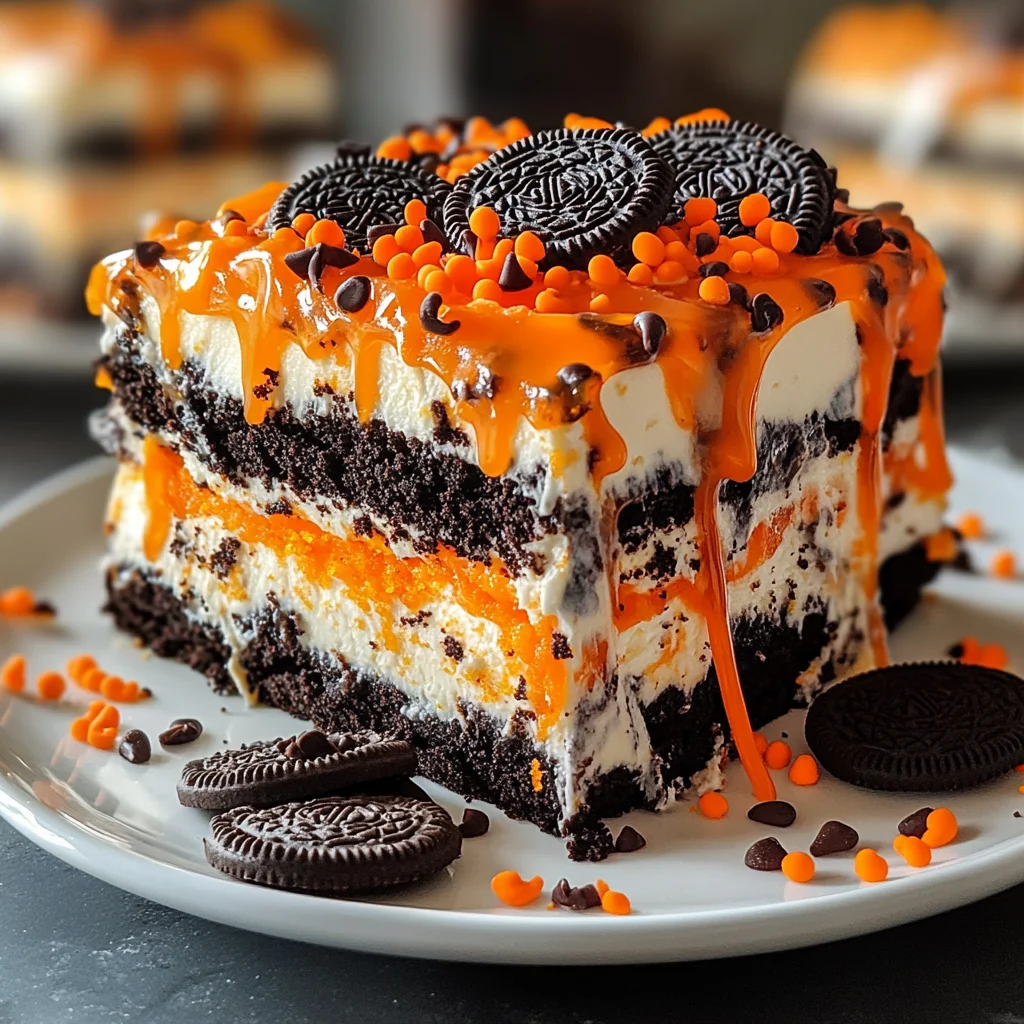
Halloween Oreo Icebox Cake
This Halloween Oreo Icebox Cake is a no-bake delight that perfectly captures the spirit of the season. With layers of whipped vanilla cream and chocolate cookies, this dessert is not only easy to assemble but also a joy to devour. Ideal for parties, gatherings, or just a fun night in, it stands out with its vibrant orange icing and festive sprinkles. Get ready to impress your guests with this spooky yet delicious treat!
Why You’ll Love This Recipe
- No-Bake Convenience: This cake requires no baking, making it a hassle-free option for busy schedules.
- Layered Flavor: The combination of creamy vanilla and chocolatey Oreo cookies creates a rich taste that everyone will enjoy.
- Customizable Decorations: Feel free to add your favorite toppings or adjust the colors to match any celebration theme.
- Perfect for Sharing: With generous servings, this cake is great for parties or family gatherings.
- Kid-Friendly Fun: Involve your little ones in decorating and assembling this festive dessert.
Tools and Preparation
Before diving into the recipe, gather your tools to make the process smooth and efficient.
Essential Tools and Equipment
- Mixing bowls
- Electric mixer
- 9×13 inch dish
- Spatula
- Measuring cups and spoons
Importance of Each Tool
- Electric mixer: Saves time and effort when beating cream to stiff peaks—essential for achieving the right texture.
- 9×13 inch dish: Provides ample space for layering the cake, ensuring even distribution of ingredients.
Ingredients
For the Cream Filling
- 2 quarts heavy whipping cream
- 2 tsp vanilla extract
- 2 cups powdered sugar
- Orange gel food coloring
For the Cake Layers
- 4 (14.5 oz) packages Oreo cookies (about 84 cookies, plus extras)
For Toppings
- Orange icing (for piping or drizzling)
- Halloween sprinkles
- Optional: ½ cup heavy cream + 1 cup chocolate chips (for chocolate ganache drizzle)
How to Make Halloween Oreo Icebox Cake
Step 1: Prepare the Whipped Cream
- In a mixing bowl, beat cold heavy whipping cream with vanilla extract and powdered sugar until stiff peaks form.
- Add orange gel food coloring and mix until evenly tinted.
Step 2: Assemble the Cake Layers
- Spread a thin layer of whipped cream at the bottom of a 9×13 inch dish.
- Place a single layer of Oreos on top of the whipped cream.
- Cover the Oreos with another layer of whipped cream.
- Repeat layering until you reach the top of the dish, finishing with whipped cream.
Step 3: Chill and Set
- Cover the dish with plastic wrap and chill in the refrigerator for at least 6 hours or overnight.
- This allows the cookies to soften into a cake-like texture.
Step 4: Add Finishing Touches
- Before serving, drizzle with orange icing and optional chocolate ganache if desired.
- Top with Halloween sprinkles for an extra festive look.
Prepare yourself for compliments as you serve this delightful Halloween Oreo Icebox Cake!
How to Serve Halloween Oreo Icebox Cake
This Halloween Oreo Icebox Cake is perfect for festive gatherings and parties. Here are some fun serving suggestions that add an extra touch of delight to this delicious dessert.
Individual Portions
- Use small cups or jars to serve individual portions. This makes it easy for guests to grab a treat while mingling.
Spooky Garnishes
- Top each slice with a few gummy worms or candy eyes for a spooky effect, enhancing the Halloween theme.
Ice Cream Pairing
- Serve alongside a scoop of vanilla or orange sherbet. The creamy texture complements the cake beautifully.
Whipped Cream Clouds
- Add extra dollops of whipped cream on top of each slice for a fluffy finish that matches the cake’s lightness.
Festive Plates
- Serve on Halloween-themed plates. This adds to the presentation and makes your dessert table more festive.
Chocolate Drizzle
- Drizzle additional chocolate sauce over each slice just before serving for an indulgent touch that chocolate lovers will adore.
How to Perfect Halloween Oreo Icebox Cake
To ensure your Halloween Oreo Icebox Cake turns out perfectly, consider these helpful tips.
- Use cold cream: Start with cold heavy whipping cream for better volume and stability when whipping.
- Layer carefully: Place Oreos in a single layer without overlapping to achieve even distribution and texture.
- Chill long enough: Allow the cake to chill for at least 6 hours, but overnight is best for optimal flavor development and texture.
- Customize colors: Adjust the amount of orange gel food coloring based on your desired shade, making it as vibrant as you like.
- Add variety: Experiment with different flavored Oreos or sprinkles to customize your cake according to your taste preferences.
- Store properly: Cover leftovers tightly in the refrigerator to keep them fresh, though it’s best enjoyed within a few days.
Best Side Dishes for Halloween Oreo Icebox Cake
Pairing side dishes with your Halloween Oreo Icebox Cake can enhance your dessert experience. Here are some delightful options:
- Pumpkin Spice Muffins – Soft muffins infused with pumpkin and spices, perfect for fall flavors.
- Caramel Apples – Fresh apples dipped in rich caramel sauce provide a crunchy contrast to the creamy cake.
- Ghostly Fruit Salad – A mix of seasonal fruits like oranges, grapes, and bananas cut into ghost shapes adds a fun twist.
- Chocolate-Covered Pretzels – Sweet and salty treats that complement the dessert’s sweetness while adding crunch.
- Spooky Veggie Platter – A colorful array of veggies arranged creatively with hummus or dip for healthy snacking.
- Cheesy Garlic Breadsticks – Warm breadsticks brushed with garlic butter offer savory flavors that balance the sweet cake.
Common Mistakes to Avoid
Avoiding common mistakes can make your Halloween Oreo Icebox Cake even better. Here are some pitfalls to watch out for:
- Skipping the chilling time: Not allowing the cake to chill long enough can lead to a less-than-ideal texture. Make sure you refrigerate it for at least 6 hours, or overnight if possible.
- Using warm cream: Whipping warm cream won’t yield the desired stiffness. Always start with cold heavy whipping cream for the best results.
- Overmixing the whipped cream: Mixing too long can turn your whipped cream into butter. Stop mixing once stiff peaks form.
- Forgetting to layer properly: Layering Oreos and whipped cream incorrectly can ruin the structure. Follow the instructions closely for even layers.
- Not adding enough flavoring: Skimping on vanilla extract or orange gel food coloring can make your cake bland. Use the recommended amounts for balanced flavor and vibrant color.
Storage & Reheating Instructions
Refrigerator Storage
- Duration: Store in the refrigerator for up to 5 days.
- Container: Keep in an airtight container or cover with plastic wrap to prevent drying out.
Freezing Halloween Oreo Icebox Cake
- Duration: Freeze for up to 2 months.
- Container: Wrap tightly in plastic wrap and then aluminum foil.
Reheating Halloween Oreo Icebox Cake
- Oven: Preheat to 350°F (175°C) and warm slices in a baking dish covered with foil for about 10 minutes.
- Microwave: Heat individual slices on low power for about 15-20 seconds until just warmed through.
- Stovetop: Place a slice in a non-stick skillet over low heat, covering it with a lid until warmed, about 5 minutes.
Frequently Asked Questions
Here are some common questions about making the Halloween Oreo Icebox Cake:
Can I use different cookies?
Yes, you can substitute other chocolate sandwich cookies if you prefer a different flavor profile.
How long does the cake last?
The cake stays fresh in the refrigerator for up to 5 days, making it perfect for leftovers!
What can I use instead of orange icing?
You can substitute any color icing or even melted chocolate for drizzling over your cake.
Is this dessert suitable for kids?
Absolutely! The Halloween Oreo Icebox Cake is fun and festive, making it a hit at parties and gatherings with kids.
How do I customize my Halloween Oreo Icebox Cake?
Feel free to add layers of candy or different flavors of whipped cream to make it uniquely yours!
Final Thoughts
This Halloween Oreo Icebox Cake is a delightful treat that combines ease of preparation with festive flair. Its no-bake nature makes it perfect for busy schedules, while options for customization allow you to tailor it to your taste. Whether you’re hosting a spooky gathering or simply satisfying a sweet tooth, this cake is sure to please. Give it a try and let your creativity shine!
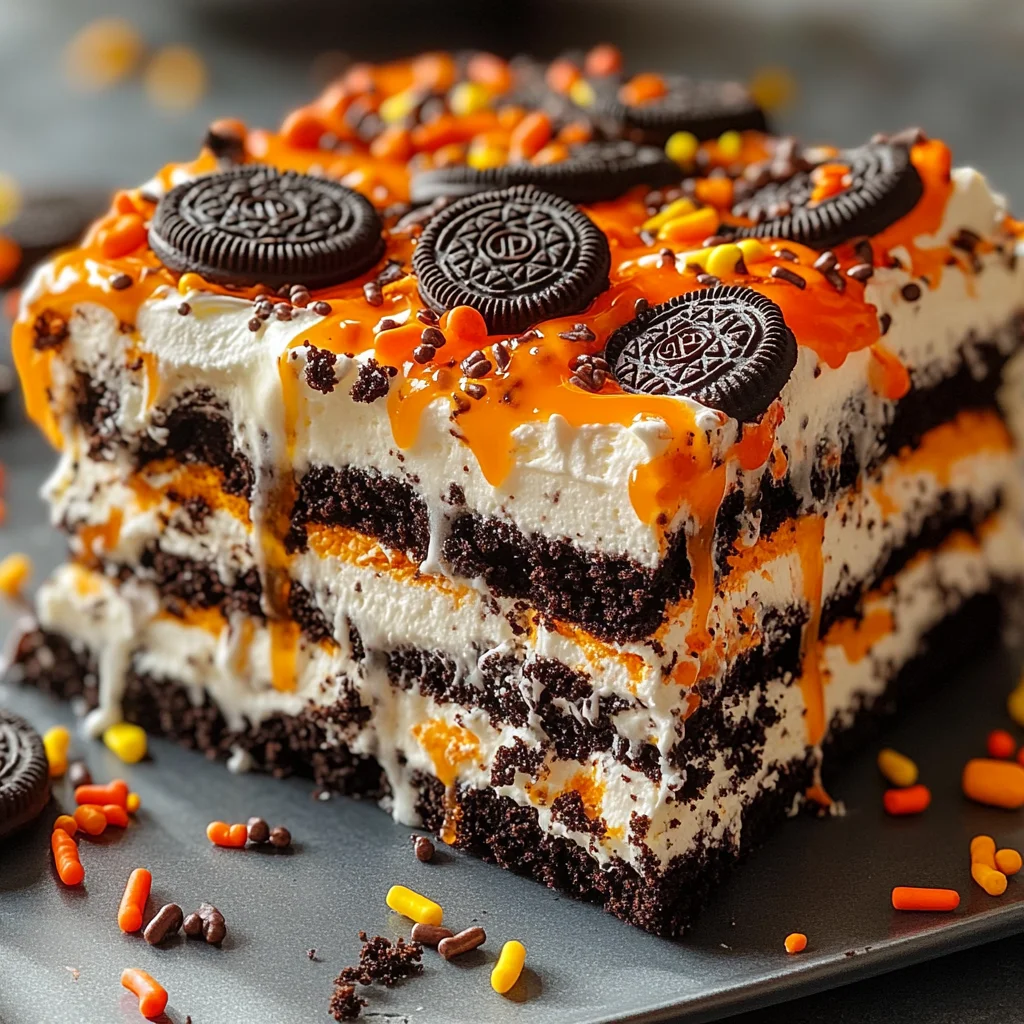
Halloween Oreo Icebox Cake
This Halloween Oreo Icebox Cake is a spooktacular no-bake dessert that’s sure to thrill your guests! With its luscious layers of creamy vanilla whipped filling and crunchy chocolate cookies, it’s the ultimate treat for any festive gathering. Topped with vibrant orange icing and playful sprinkles, this cake not only looks festive but also delivers on flavor. Perfect for parties, family gatherings, or a cozy night in, this easy-to-make dessert invites everyone to indulge in its deliciousness. Get ready to create sweet memories with this delightful Halloween treat that will leave everyone asking for seconds!
- Prep Time: 20 minutes
- Cook Time: 0 minutes
- Total Time: 20 minutes
- Yield: Serves approximately 12 people 1x
- Category: Dessert
- Method: No-Bake
- Cuisine: American
Ingredients
- 2 quarts heavy whipping cream
- 2 tsp vanilla extract
- 2 cups powdered sugar
- Orange gel food coloring
- 4 packages (14.5 oz each) chocolate sandwich cookies
- Orange icing (for decoration)
- Halloween sprinkles
Instructions
- In a mixing bowl, beat the cold heavy whipping cream with vanilla extract and powdered sugar until stiff peaks form. Add orange gel food coloring and mix until evenly tinted.
- Spread a thin layer of whipped cream in the bottom of a 9×13 inch dish. Place a single layer of chocolate sandwich cookies on top, then cover with more whipped cream.
- Repeat the layering process until all ingredients are used, finishing with whipped cream on top.
- Cover the dish with plastic wrap and chill in the refrigerator for at least 6 hours or overnight.
- Before serving, drizzle with orange icing and sprinkle with Halloween decor.
Nutrition
- Serving Size: 1 slice (approximately 140g)
- Calories: 350
- Sugar: 25g
- Sodium: 50mg
- Fat: 30g
- Saturated Fat: 18g
- Unsaturated Fat: 10g
- Trans Fat: 0g
- Carbohydrates: 25g
- Fiber: 1g
- Protein: 3g
- Cholesterol: 100mg